Protect and conform
Quality
| Setting | When to use it |
|---|---|
| Quick Wrap | Fastest. Check marker placement and get a rough fit. |
| Balanced | A balance between speed and fit. Start here. |
| Best | Slower, more thorough fitting. Compare it with Balanced; it is not always better. |
Detail Iterations
Refines the shaping after the main fit. More does not always mean better. Try small increases, then compare the ears, eyelids and lips. Lower it if folds or creases get worse.
The range is 0–25; 0 turns refinement off. Defaults are Quick Wrap 1, Balanced 3, Best 5. Once you change the slider, your value applies to all three settings.
Click Conform again to try different settings. Each run starts from the original Source, so you do not need Undo.
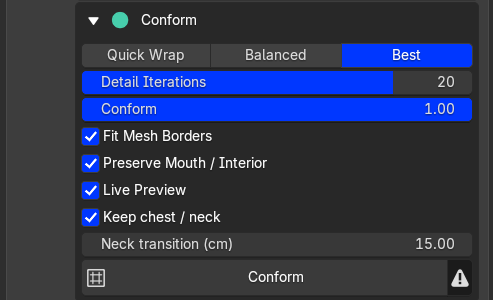
Quality, Detail Iterations and Conform settings
Three ways to protect areas
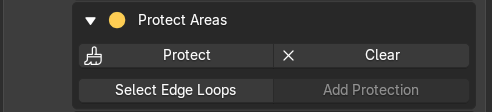
Paint protection or start from edge loops
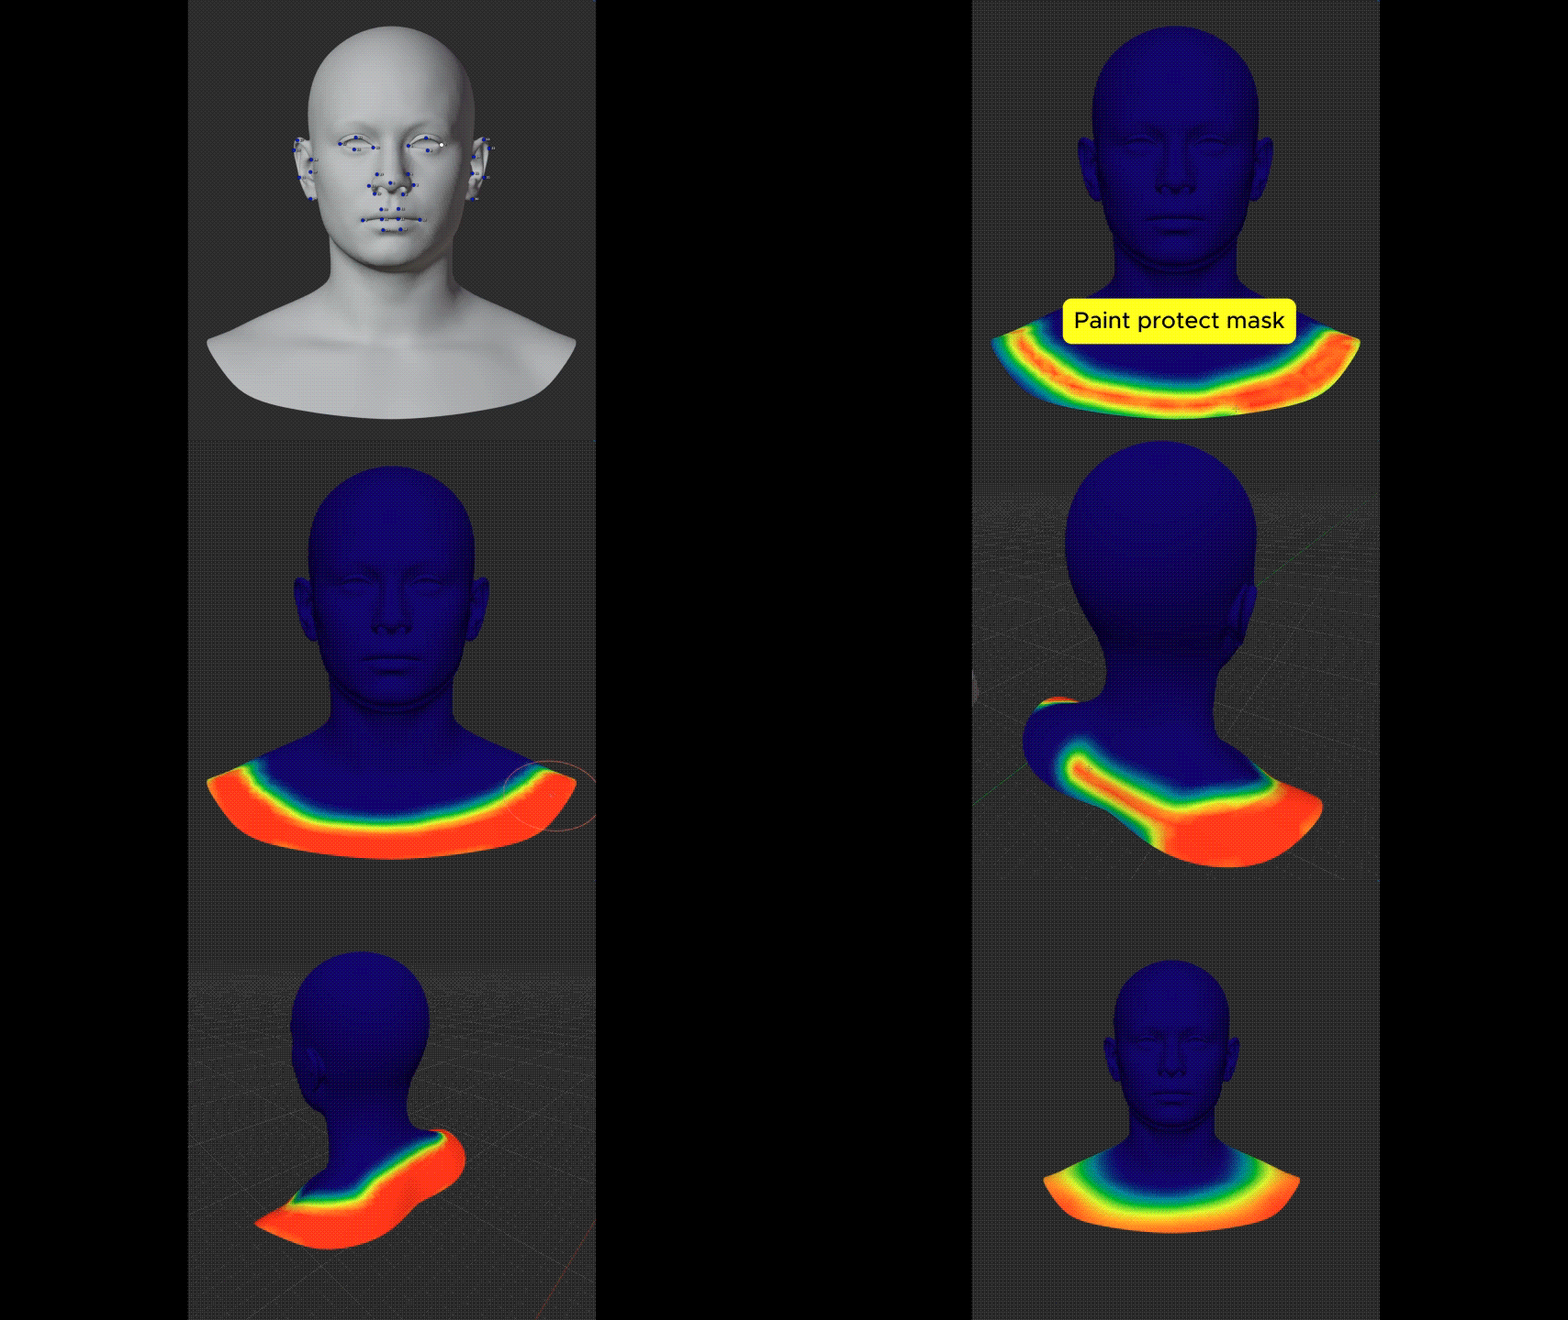
- Paint: click Protect, then paint areas you want to keep. Red means full protection; blue means none. Use Erase to remove it, Blur to brush-smooth it, or Smooth Protection to soften the whole mask.
- Edge loops: click Select Edge Loops, Alt-click a loop, then Add Protection. Each additional click expands the protected band. Shift-Alt-click selects more loops.
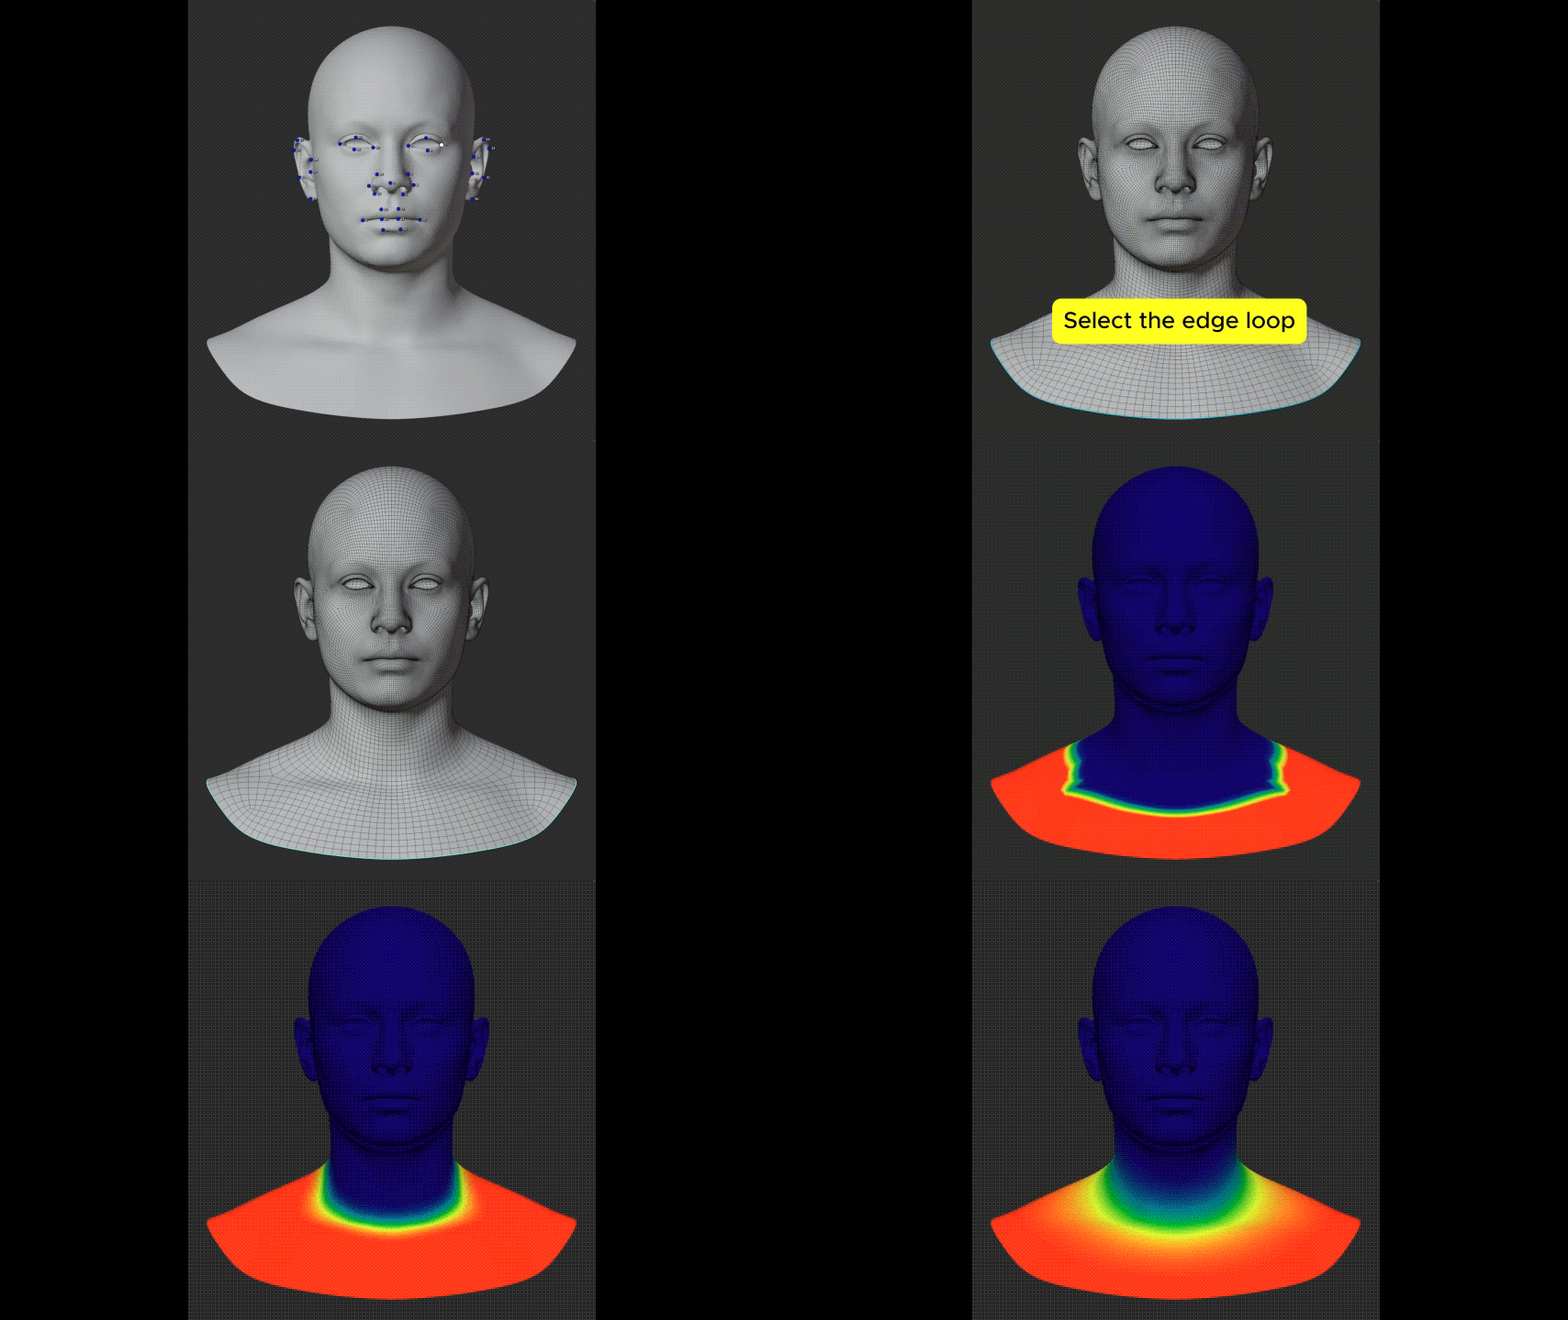
- Neck Transition: enable Keep Chest / Neck without painting. A larger distance makes a wider blend from the fixed attachment into the new shape. This needs an open attachment boundary.
You can combine these methods. Clear removes painted and loop protection; turn off Keep Chest / Neck separately. Click Done Painting before conforming.
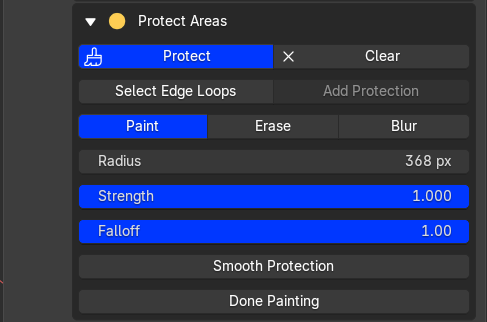
Paint, erase and smooth the protection mask
Conform and keep the result
Keep Preserve Mouth / Interior enabled for heads with a mouth cavity. Fit Mesh Borders fits open edges to the Target; it does not close holes.
Click Conform, inspect the result from several angles, and adjust Result Strength if needed. Incorrect marker pairs need correcting even with Best selected.
- Apply bakes the result into the Source mesh and updates its loaded lower LODs.
- Create Object makes a separate result mesh.
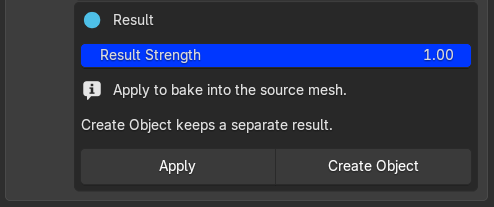
Apply to the Source or create a separate object
For DNA export, Apply to the imported Source, then bake and export.