User Interface - How it works
This page explains each UI section of the opacity cutout and its functions.
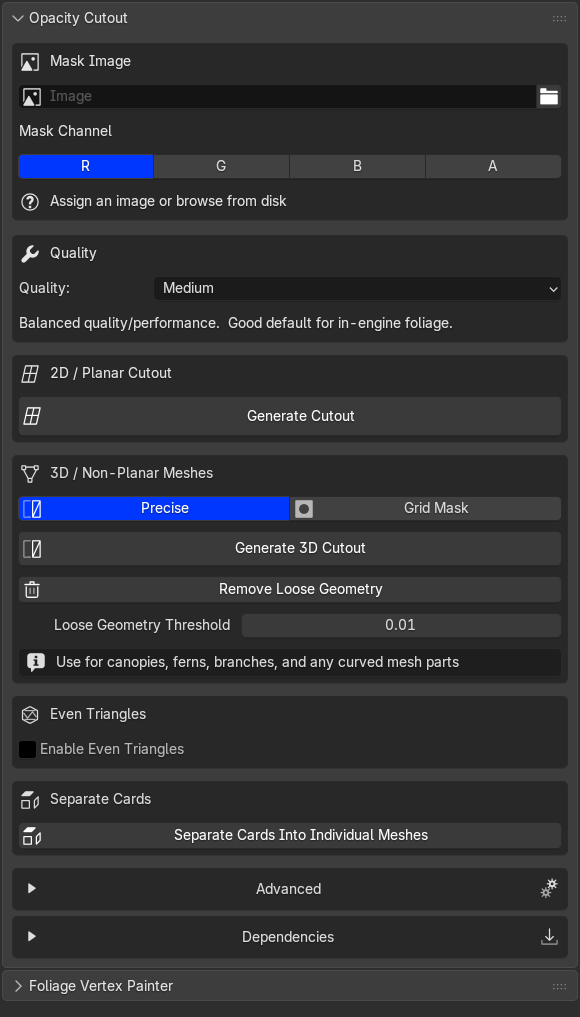
Opacity Cutout Overview
This is the overview of the Opacity Cutout Section, below we will go over each section and what it does.
Texture Mask

This is where the add-on begins. Add a mask manually, or let the add-on auto-detect one if the mesh already has a material with an opacity texture applied.
The addon reads any image loaded into Blender as the opacity mask. A few things worth knowing:
File type PNG, TIFF, and TGA all work. PNG is the most common for foliage atlases.
Resolution Higher resolution masks produce tighter, more detailed silhouettes. A 4K mask on a foliage atlas will trace leaf edges more accurately than a 512px version. There is no hard limit.
You do not need a dedicated mask texture A basecolor / albedo / diffuse texture with an alpha channel works perfectly. Set the Channel picker in the panel to A and the addon reads the alpha directly. This is the most common setup for Megascans and Quixel foliage assets where the opacity is baked into the RGBA texture.
You can also target any individual channel — R, G, B, or A
Quality Preset
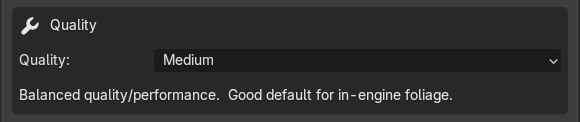
This is where you set the quality. Low produces the lowest topology and Ultra produces the highest. I do recommend starting with Low and building up, because Ultra can be demanding on some computers.
Quality Options:
- Low
- Medium
- High
- Ultra
Pro Tip
Start with Low quality first. so don't go overboard immediately.
2D / Planar Cutout

This mode traces the visible silhouette of the mask and cuts the shape out of the mesh. Once the mask is set up, the original mesh remains untouched. The mode creates a copy first, so your source mesh is always preserved.
Best use case:
Use it when your source mesh is flat for example a card, a plane, or any simple planar asset.
Use case:
- Ideal when you need to convert a texture mask into clean mesh geometry for papers, decals, or atlas-based assets.
- UVs are respected and never changed/deleted.
- You can, for example, use it for decals and then add a Solidify Modifier to give the cutout mesh thickness while preserving its UV layout.
- Because the mesh no longer contains large unused transparent areas, overdraw is reduced and rendering becomes more efficient. This makes it especially useful for Unreal Engine 5 workflows and for producing geometry that works better with Nanite.
- Results are predictable and easy to fine-tune with the quality slider.
3D / Non-Planar Cutout
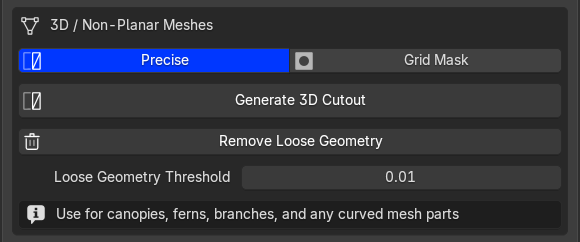
3D Cutout - Precise
This is the main mode for converting existing canopy meshes into cleaner Nanite-ready geometry. It keeps your mesh in 3D, but trims away the invisible parts so the final canopy better matches the texture silhouette.
Best use case:
Use it when your source mesh is a canopy or a branch etc, anything that is non-planar.
Use case:
- Cuts back oversized leaf cards and canopy chunks to the visible shape.
- Respect existing geo and will only add or improve geo where the cuts happenend, will generate new geo if the leaf cars are simple planes.
- UVs are respected and never changed/deleted.
- Preserves curved surface placement, so branches and canopy volume stay in position.
- Produces denser, cleaner triangles where needed, which helps Nanite represent the silhouette more faithfully.
- Reduces wasted geometry in fully transparent regions without flattening the asset.
Grid Mask
Removes faces that fall in transparent mask areas. The result still requires a masked material because the cut boundaries follow existing face edges, not the exact texture silhouette. It is a quick option for reducing obvious waste geometry, but not advised when a clean, precise cutout is the goal.
- Low: original topology with transparent faces removed only. No new vertices or topology.
- Medium / High / Ultra: subdivides faces before sampling so boundaries follow the mask more closely.
Note
This mode can be an interesting option is some situations.
Related controls in the panel
- Precise / Grid Mask: choose silhouette accuracy (Precise) vs speed and original face preservation (Grid Mask).
- Generate 3D Cutout: runs the selected 3D cutout mode.
- Remove Loose Geometry: deletes tiny leftover fragments after cutting.
- Loose Geometry Threshold: controls how aggressively tiny fragments are removed.
Even Triangles (2D / Planar Cutout)

Even Triangles
2D / Planar Cutout only. Not available for 3D Precise or Grid Mask.
Even Triangles replaces the standard triangulation with a uniform grid of evenly-sized triangles distributed across the cutout surface. Instead of triangles that follow contour edges, you get a consistent, regular pattern across the whole mesh.
Controls
Note
By default, the triangle size is set to 1.25 and cannot be reduced below 0.50. Values lower than 0.50 can generate extremely dense topology and are likely to crash Blender, so this minimum limit is hard-coded.
- Triangle Size: controls how large each triangle is. Smaller = denser mesh, larger = fewer triangles.
- Relax Iterations: smooths vertex positions after triangulation for more even edge lengths.
- Refine Passes: adds midpoints on long edges and re-runs the triangulation. Higher values produce more uniform results at the cost of processing time.
Seperate Cards
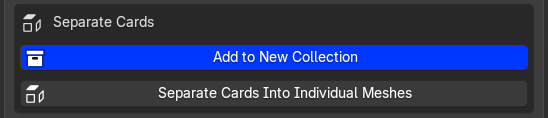
When you run a cutout on a texture atlas that contains multiple disconnected shapes — for example a leaf atlas with eight individual leaves — the result is a single mesh object containing all of them as separate loose parts.
Separate Cards splits that single object into one object per leaf / card.
Each piece is automatically named [AssetName]_Cutout_00, _01, _02, and so on, so you get a clean, organised set of individual assets ready to use independently.
Controls
- Add to New Collection (checkbox): when enabled, all separated cards are moved into a newly created collection so they stay grouped and are easier to manage.
Advanced Controls

| Control | What it does |
|---|---|
| Gap Closing Radius | Fills hairline breaks in the mask so the silhouette doesn't split |
| Contour Tolerance | How closely the polygon hugs the mask edge (vertices vs smoothness) |
| Polygon Offset Inwards | Shrinks the silhouette inward to prevent z-fighting |
| Max Triangle Edge | Caps triangle size to break up large interior faces |
| Fill Interior Holes | Treats enclosed dark areas as solid instead of hollow |
| Triangulation Method | 2 Choices beauty or earcut (earcut default) |
Gap Closing Radius Example: